

Global reference point and where objects are added into the scene.
Enables manipulating an object with an Armature object.
Creates copies of the original object
Disables rendering of faces that aren't visible (makes the render faster).
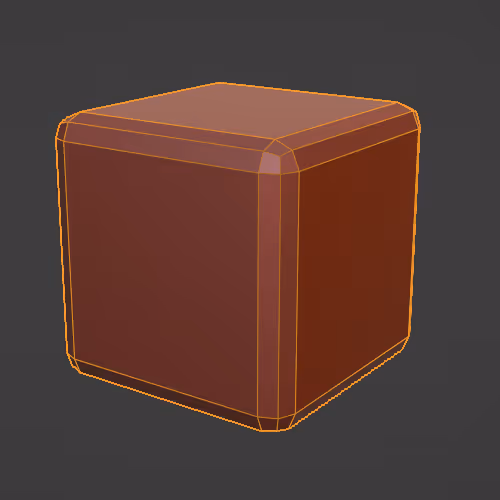
Makes corners/edges rounded or sloped
Smoothing an edge of an object by adding more geometry.
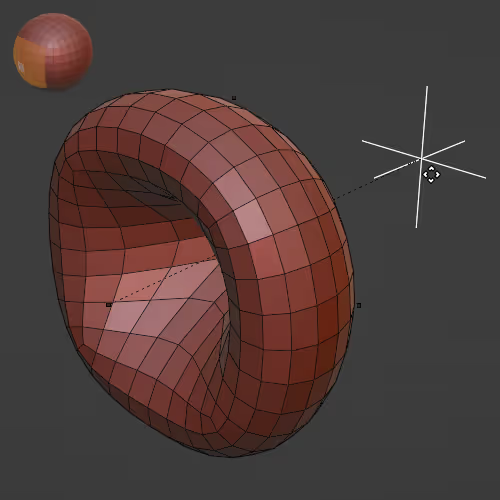
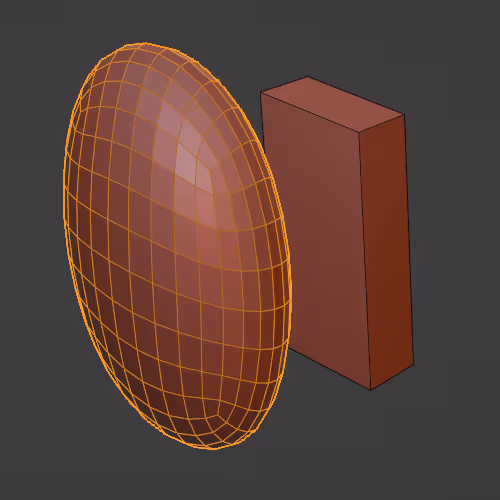
Operations between objects (keep in mind that you have to hide the object that doesn't have the modifier to see the effect).
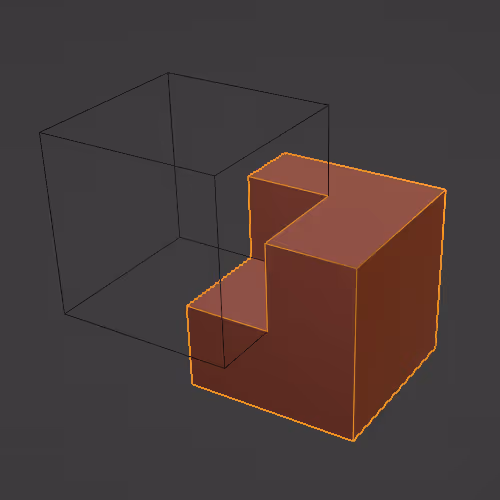
- Union (combines objects together into 1 mesh)
- Intersection ("new" mesh from the overlapping parts)
- Difference (subtracts one mesh from the other)
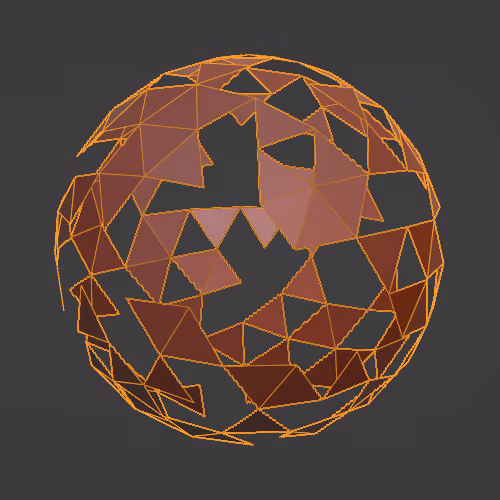
Makes faces disappear/appear one by one during an animation.
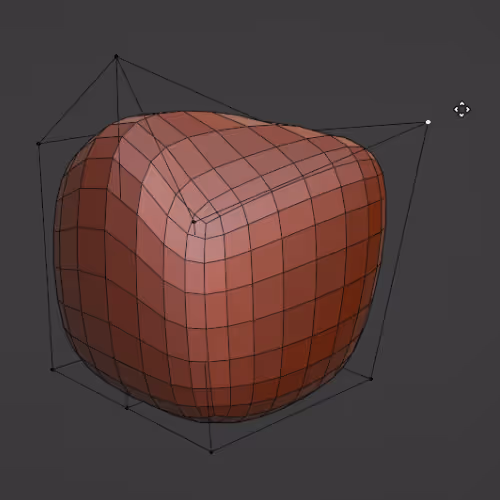
Deforms the mesh to make it more Sphere/Cylinder/Cuboid-ish.
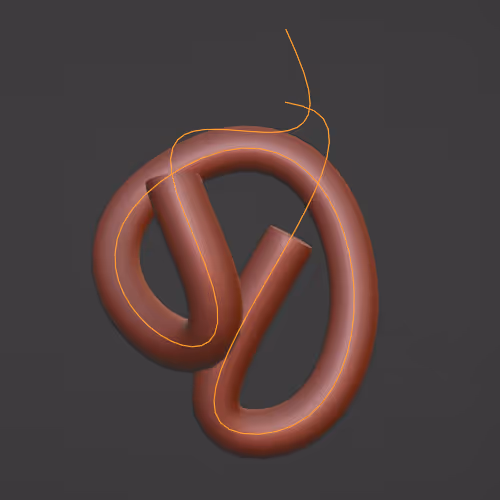
Makes the mesh bend following a curve object (the object needs to have enough geometry to be able to bend properly).
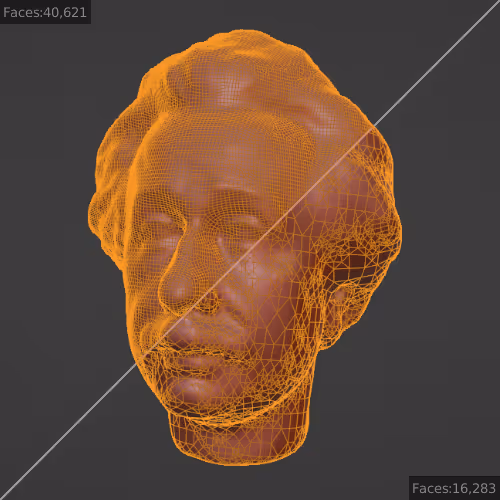
Reduces the number of polygons.
Modifies the mesh based on a texture.
Splits edges (that hold 2 faces together for example). When applied, each face has its own edge separately.
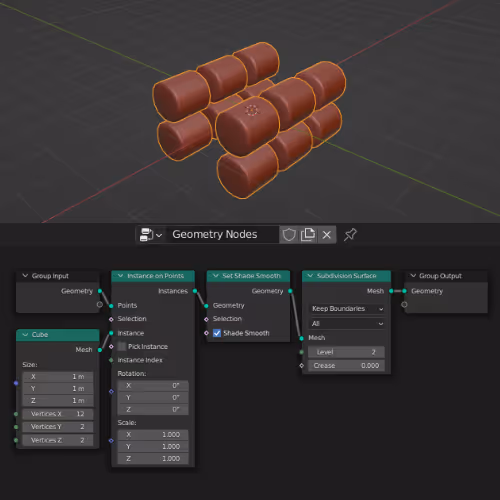
Used to create any kind of geometry from using nodes only.
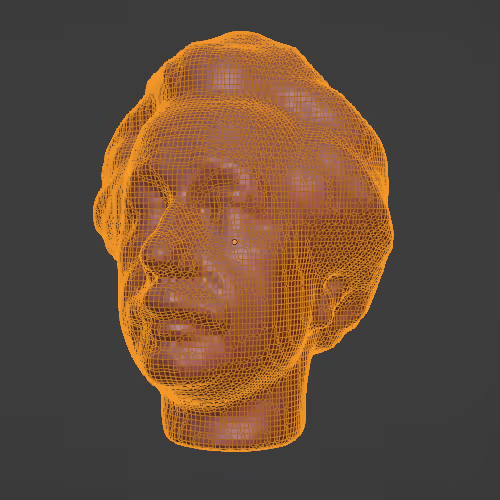
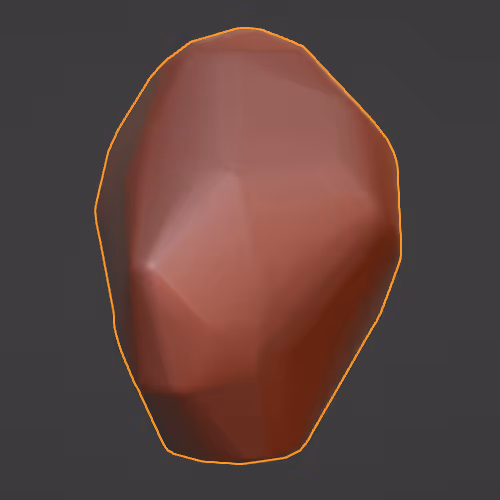
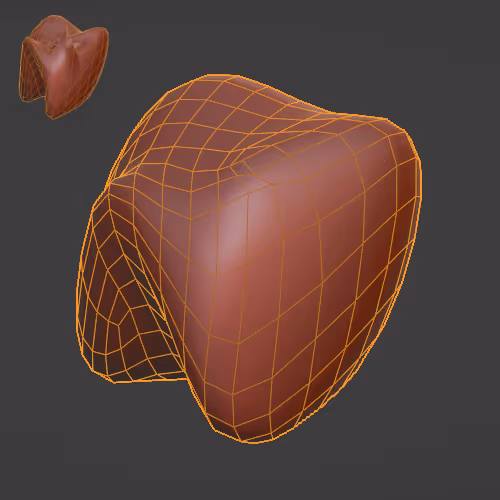
Mesh with A LOT of polygons. AVOID because it makes things slower an laggy.
Deform the mesh (vertex group) using another object (or an empty).
Deforms the mesh using fixed hooks.
[CTRL + H] to add hooks (in Edit Mode) and create a Vertex Group with them selected.
Enables deforming an object using a Lattice object.
A transversal cut on a mesh (all around).
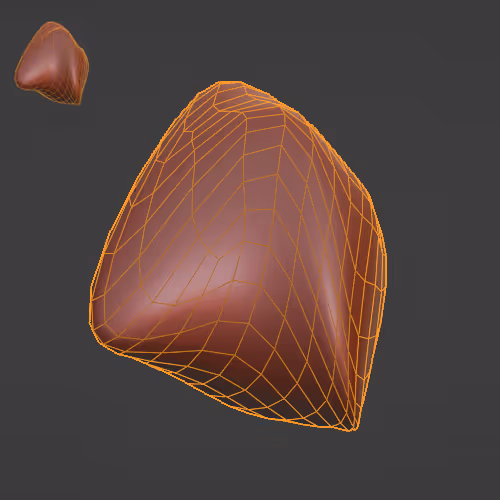
Mesh with few polygons.
Hides vertices corresponding to a Vertex Group you've selected.
3d object (the virtual representation of a physical object). Also called "geo" (for geometry).
Enables deforming an object using any other object (like the Lattice modifier).
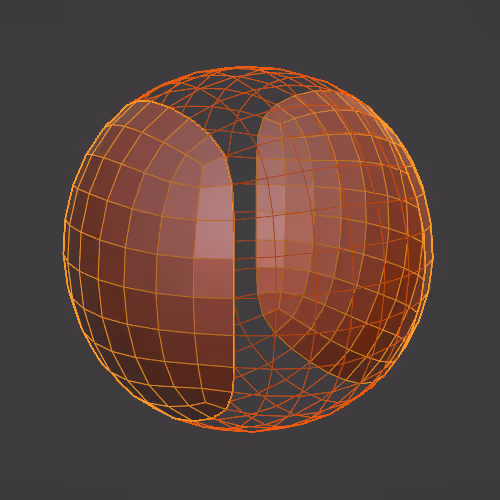
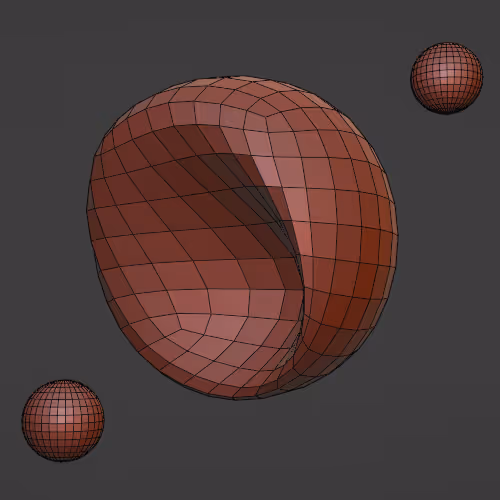
Mirrors the mesh across the object's origin (its local axis).
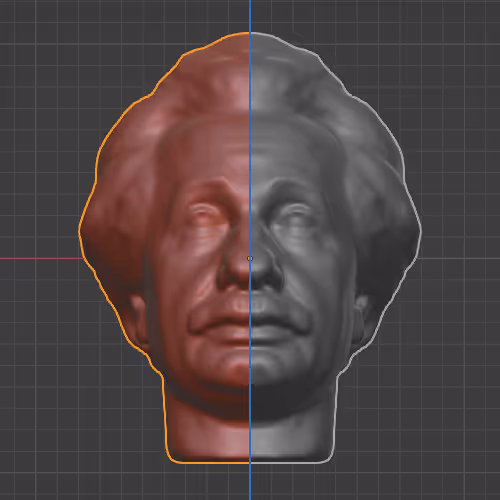
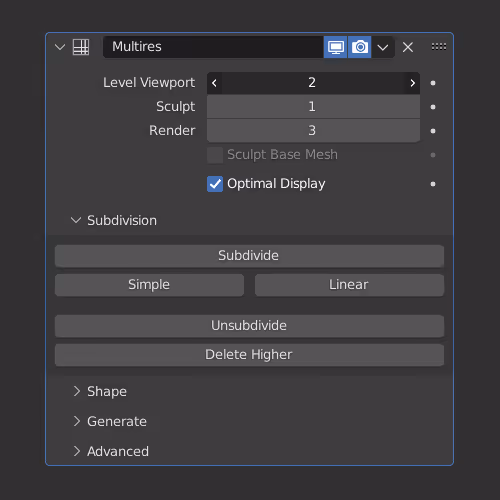
"Effect" that manipulates mesh. It is "non-destructive" (doesn't actually change the mesh under) until we decide to Apply it (applies the changes permanently), making it "destructive".
(also called Multires)
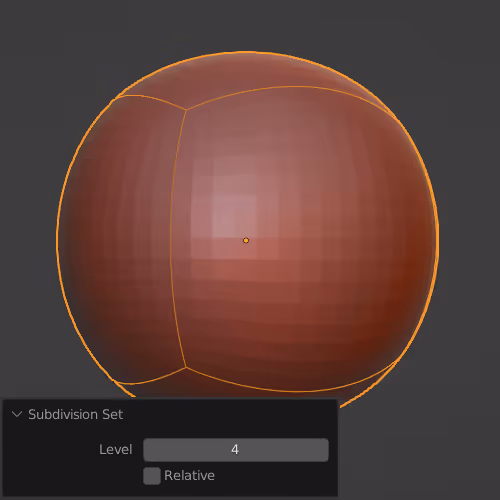
Click Subdivide to create a subdivision step and then you can iterate through the different individual created steps/subdivisions. Useful for sculpting because you can change the number of subdivisions on the fly, which makes the viewport feel faster/slower.
Interactive panels that connect to each other, representing mathematical calculations and/or logic.
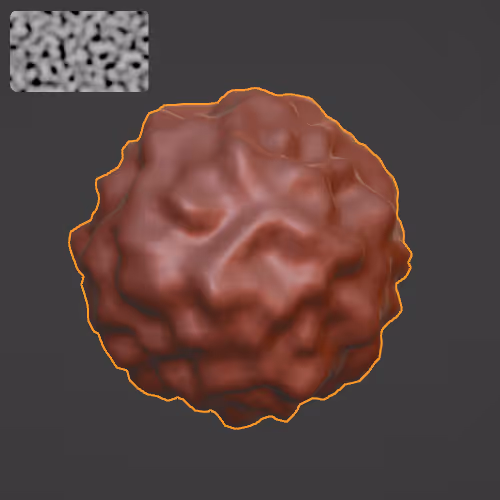
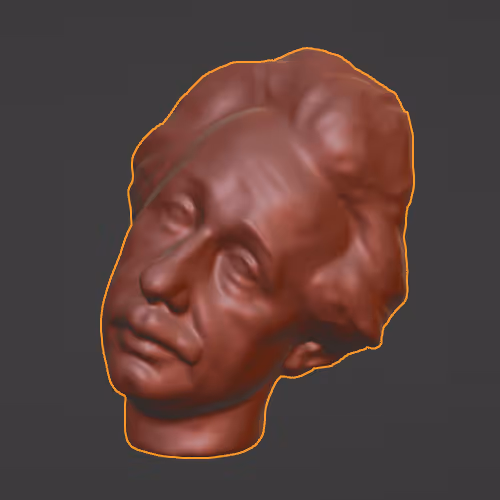
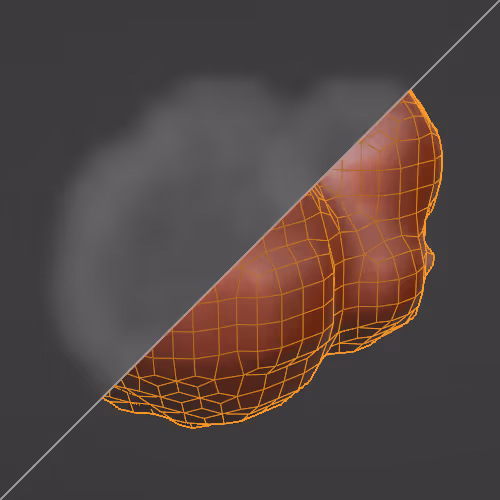
Image texture that tells how a surface reflects light. We can use normal maps to "fake" high detail in a low-poly object (normal mapping). We can make a normal map by baking it from a high-poly mesh.
Vector that represents the direction a polygon is facing, which influences how light is reflected (for example, an object will appear to shine brighter if it is directly facing a light).
Reference point for the individual object.
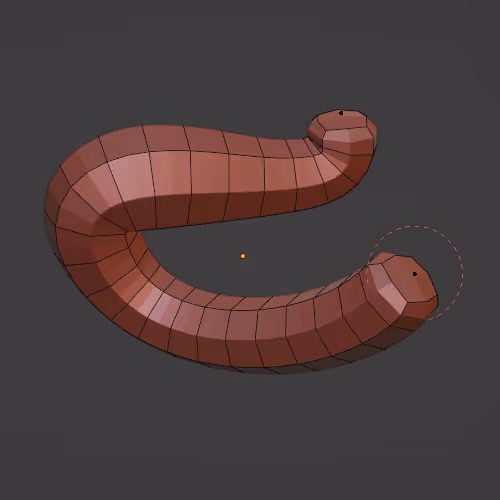
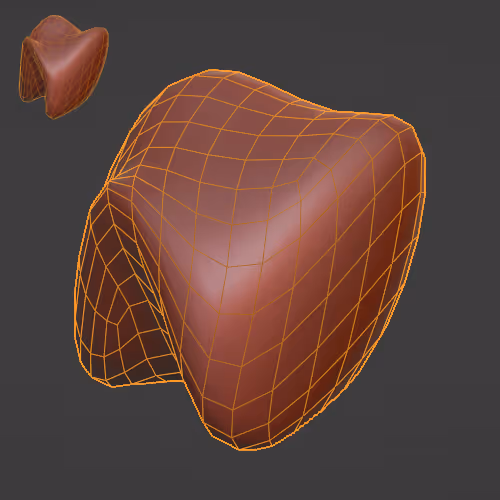
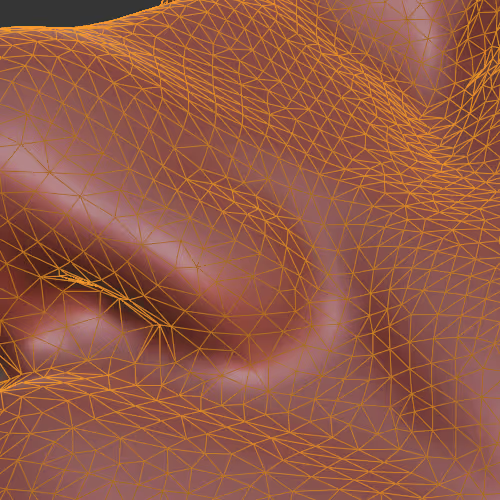
Each single shape that makes a mesh. Generally, the more polygons an object has, the more power is required to process it.
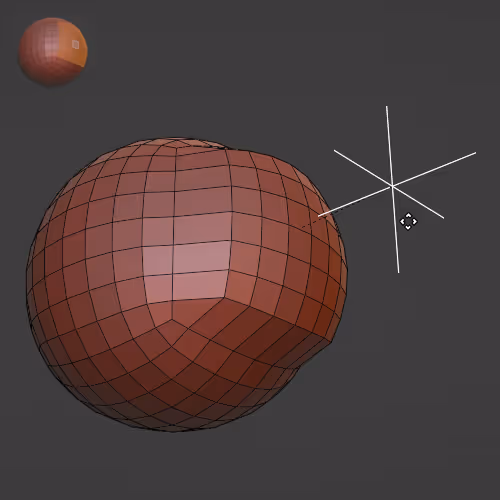
Calculates the mesh again, generating quads ("cleans up" the mesh making it more even overall).
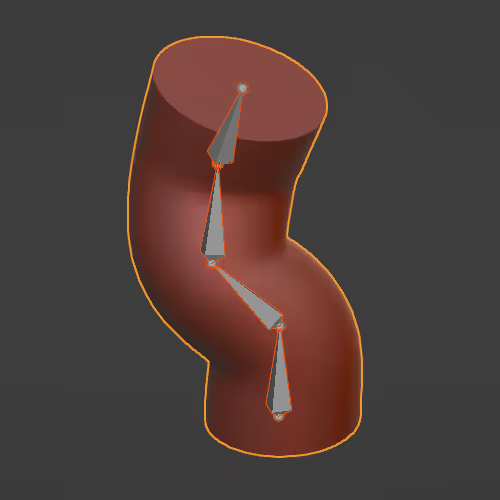
Assigning bones to a mesh to animate later. We animate the “bones” that are parented to the mesh instead of the mesh itself in the animation process.
Grey-scale image that controls where and how rough/smooth a surface is.
Black = 0% rough surface
White = 100% rough surface
(also called Lathe)
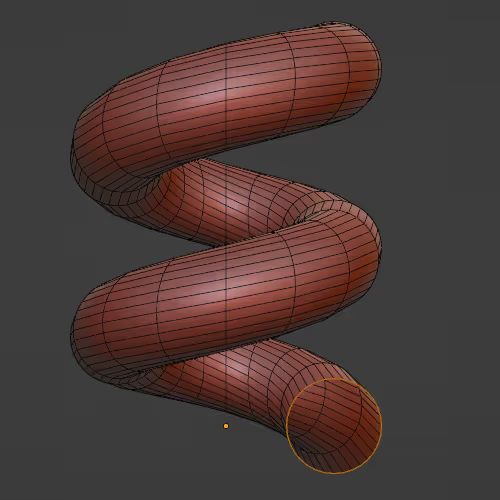
Creates a "screw-like" effect.
Wrap the mesh onto another object.
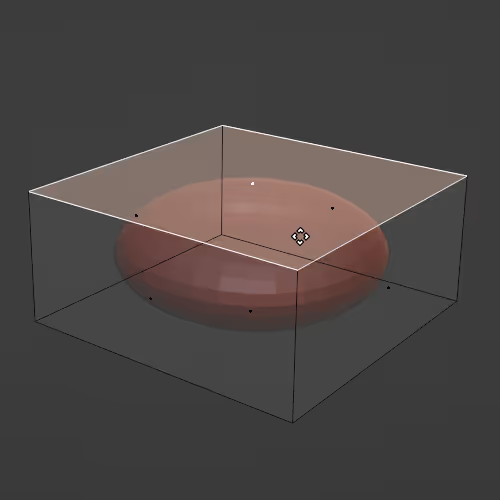
Applies one of the predefined deformations (Twist/Bend/Tape/Stretch).
Creates a thick "skin" from vertices. Usually used in combination with the Subdivision Surface modifier for creating base meshes for sculpting. If you have a curve, it adds thickness to it (convert the curve to mesh first).
Press [CTRL + A] to change the thickness on the selected vertex.
Smooths a mesh without creating new geometry.
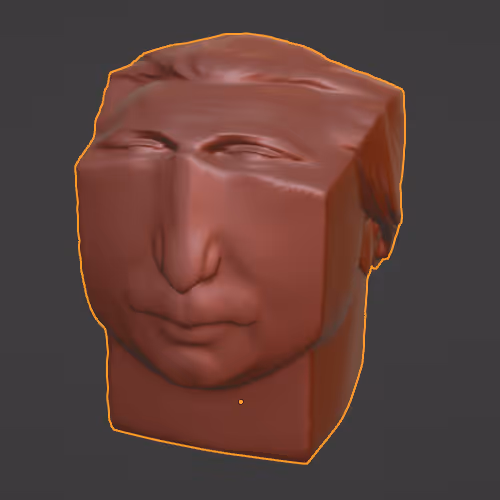
Corrects a mesh with strong deformations/overlapping mesh.
Helps making a mesh smooth without deforming it too much.
Adds thickness to a mesh.

Doubling the number of polygons.
Divides the faces so that the mesh looks smoother.
[CTRL + (number of subdivisions you want)] to quickly add this modifier to the currently selected mesh.
Mimics another mesh's deformation and/or motion.
Converts mesh from quads (4 vertices) to tris (3 vertices).
Describes how a texture is assigned to a surface
The process of projecting/unfolding a 3D object into 2D. (like a paper model)
Alternative for “XYZ” to denote 3 dimensions in virtual space.
Grouping vertices to use them in another context later.
Influence/power a vertex has in relation to its neighbours. (value between 0 and 1).
Converts an existing volume to a mesh.
Warps a mesh using two other objects.
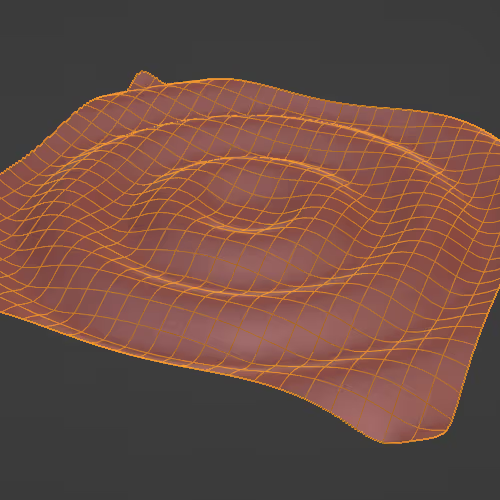
Adds a wavy animation to an object.
Process of indicating how and what mesh moves/deforms with each bone. (rigging & animation)
Merges vertices that are close together.
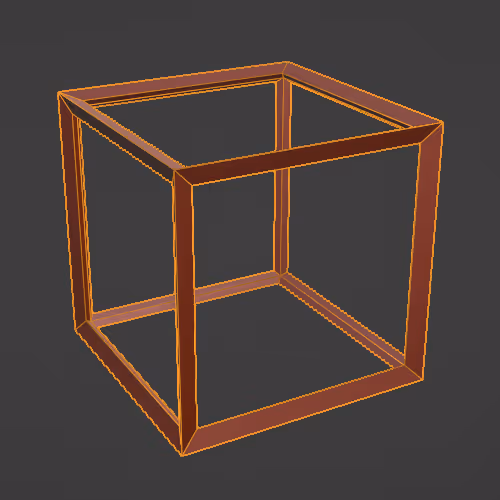
Creates a "structural frame" effect.
Method of calculation about how light will reflect on the roughness of the object. Generally, you should use the Multiscatter GGX for glass but it doesn't make much of a difference plus it adds a bit more rendering time.
Christensen-Burley → Faster (depending on the case) but less accurate way of simulating subsurface scattering.
Random Walk → More complex and accurate however when the object has holes it may not work so well.
The actual color of the object.
How much light penetrates the material. Examples: candle, hands in front of light,...
How far light travels through the object.
Color of the inside of the object.
Subsurface Index of Refraction.
Subsurface Anisotropy.
How metal-like the object is.
0 → 0% metal
1 → 100% metal
How much light is reflected.
Color of the reflection.
0 → same color as the light source
1 → same color as the object
How rough the material is
0 → mirror
1 → 100% rough
"Bottom of a pan" circular reflection effect.
Rotation of the anisotropic effect in general.
"Velvet fabric" effect.
0 → same color as the object
1 → same color as the light source
Extra layer on top of the base material surface.
How rough the clearcoat is.
Index of Refraction. Each material has its own specific IOR value.
Glass → 1.5
How transparent/glass-like it is.
0 → opaque
1 → 100% transparent glass
How rough the inside of the object/glass is.
If it emits light.
How strong is the light emitted.
How visible the object is.
0 → invisible
Plugging a texture into the Alpha will make parts of the object invisible.
Simulates shadows/highlights on the object without having to model these details (based on a texture), making in certain situations the render way faster. Connect a Bump node into it. Details outline is not seen from the side.
Same as Normal but for the Clearcoat layer.
Controls where the anisotropic effect is present.
Try searching for something more general or check for spelling mistakes. Alternatively, if you can't find the definition you're looking for, suggest a definition here.
09/07/2022
- General UX/UI fixes and improvements.
15/06/2022
- Now you can also use the arrow keys to move between slides on desktop.
- New "Upload your own tutorial" feature.
- Added filtering by categories/tags
- Indication of the Blender version used for each tutorial
- NEW Definitions section
- Other UI fixes and improvements.